


Wondering how to create textures and illustrate a themed nursery in the most fuss-free way possible? Our answer: Wall decals to the rescue! It may sound like a lot of physical work but trust me, this is a good little decor hack that is easy yet goes a long way.
Here are four simple steps to dress up that feature wall for your minifique:
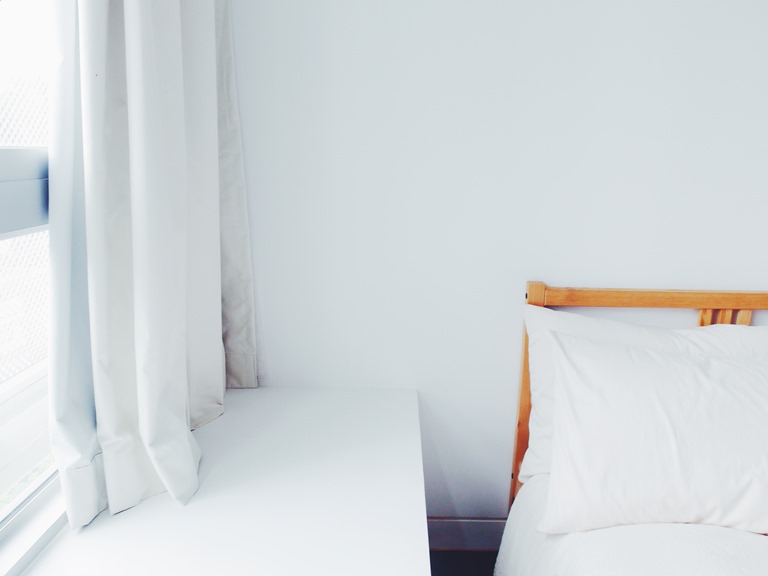


- Identify
Select the perfect wall to be worked on, ideally the wall should be one that is by the baby cot or bed. Take notes on details of the space such as full measurements of the space and existing decorations. - Decide
With your notes, determine the theme and finalise colours to work with. Take special care to find shades that work well together. Based on the measurements, select a wall decal of an appropriate size. Start conceptualising the layout of the wall decal.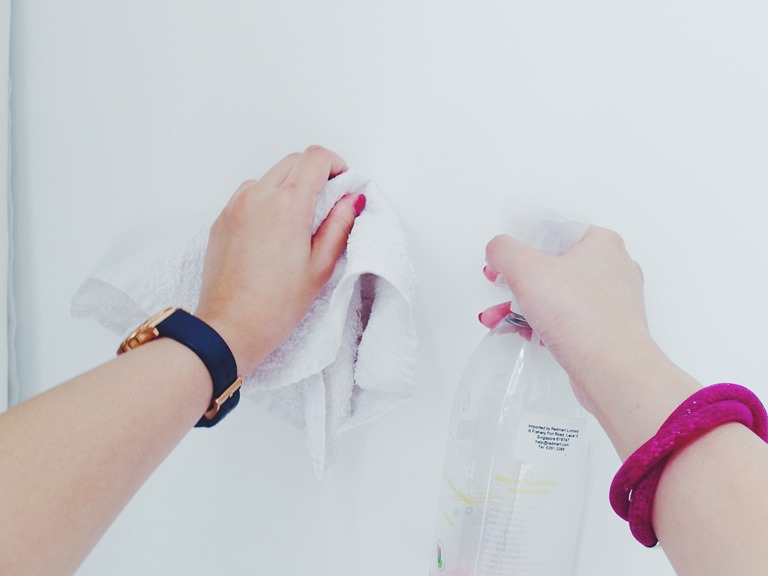
- Clean
To ensure that the wall decal has a lasting effect, it is important to have a clean surface, allowing it to adhere properly. Remove dirt with a damp sponge and or a small amount of soap to remove oil stains. Make sure the wall is dry before moving on to next step.
- Placement
This is the step that most mummies dread because it involves precise measurements and is crucial to the final product. We’ve a little tip to make things a whole lot easier! Lose all that tedious measuring with long rulers and messy markings on the wall. Decide how far you would like the decals to be apart and create your own template. Using a foam board, we worked out a template of 15cm x 15cm that can be rotated freely from one point to another. Stick on each wall decal and rotate as you go.
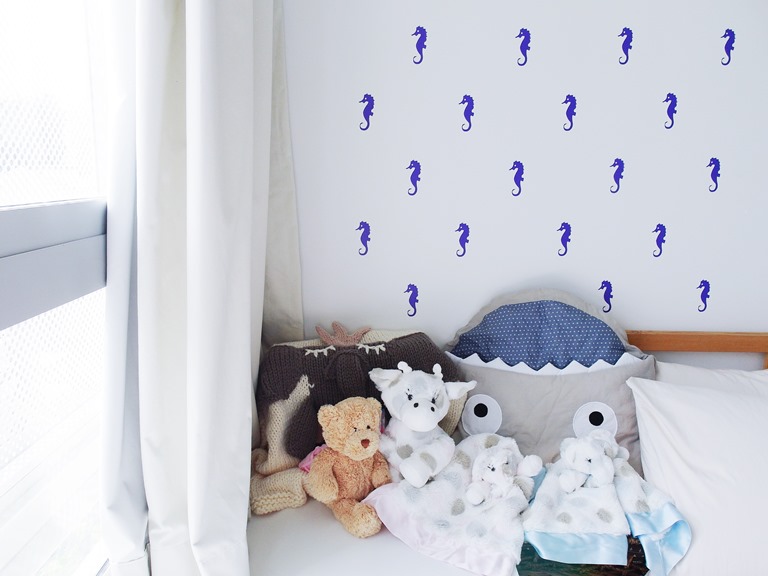
- Beautify
Dress up the corner with plushies and blankets for a cozy feature wall! Remember to check out our range of design kits (featuring wall decals and handmade garlands) that promise to turn that wall from drab to fab in to time at all!
SHOP THE STORY
[products ids=”3109, 3113, 3114, 3115, 3116, 3117, 3118, 3119, 3120, 3121″]